
はじめに
前回インストールしましたWindows Server 2019(評価版)環境にActive Directoryをインストールしていきます。

検証環境
構築するActive Directoryの構成は、下記の通りです。
| サーバ環境 | OS | Windows Server 2019(評価版) |
| ホスト名 | win2019-01 | |
| IPアドレス | 192.168.0.10 | |
| サブネットマスク | 255.255.255.0(/24) | |
| デフォルトゲートウェイ | 192.168.0.1 | |
| Active Directory構成 | ルートドメイン | ad.right8se.blog |
| フォレストの機能レベル | Windows Server 2016 | |
| ドメインの機能レベル | ||
| NetBIOSドメイン名 | RIGHT8SE | |
| データベースのフォルダ | C:\Windows\NTDS | |
| ログファイルのフォルダ | C:\Windows\NTDS | |
| SYSVOLフォルダ | C:\Windows\SYSVOL |
作業内容
Active Directoryのインストール
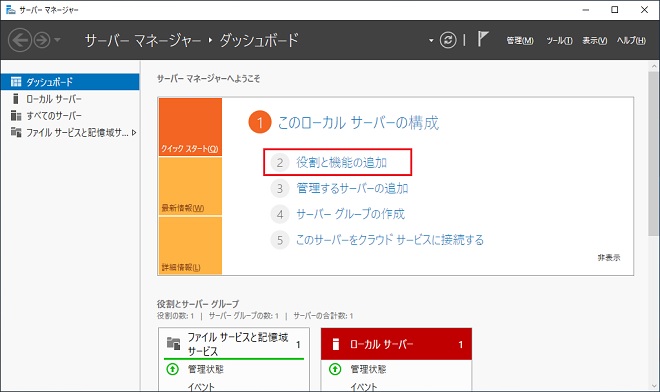
(1) [サーバー マネージャー] – [ダッシュボード]より、[役割と機能の追加]をクリックします。
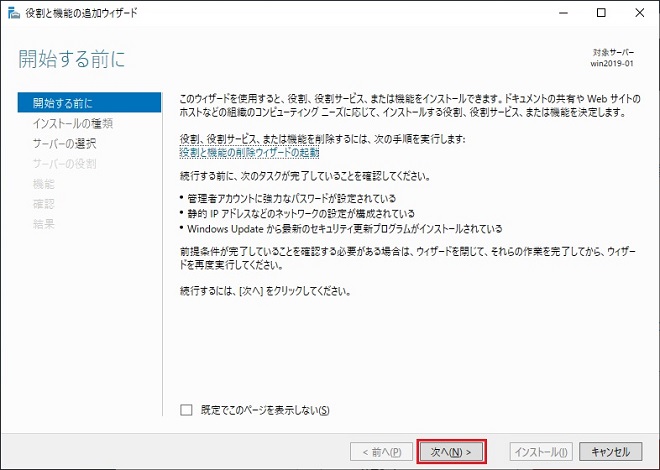
(2) [次へ]をクリックします。
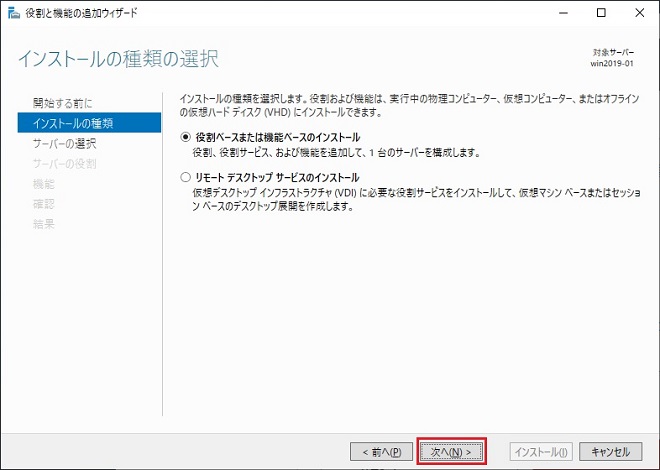
(3) [次へ]をクリックします。
(4) [次へ]をクリックします。

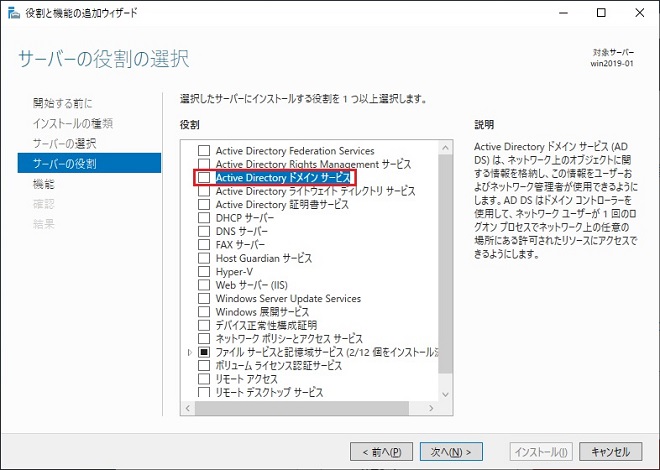
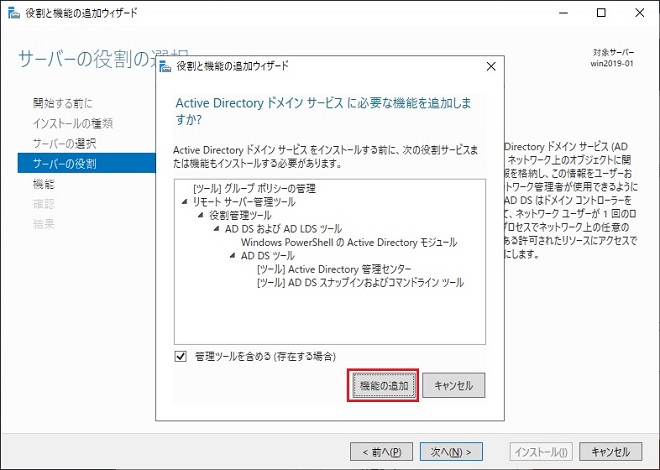
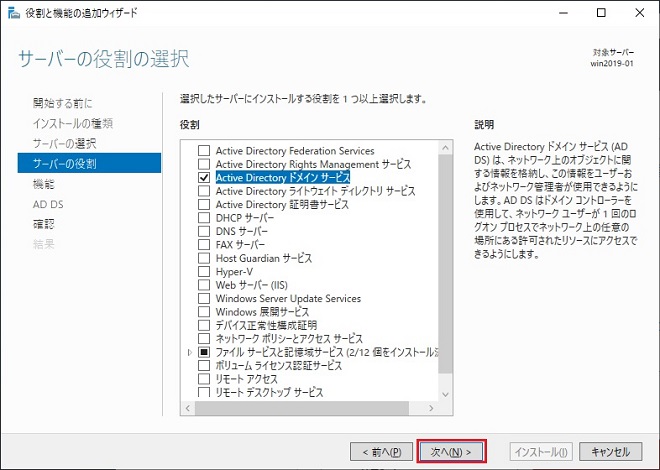
(5) [Active Directory ドメインサービス]にチェックを入れます。
(6) [機能の追加]をクリックします。
(7) [次へ]をクリックします。
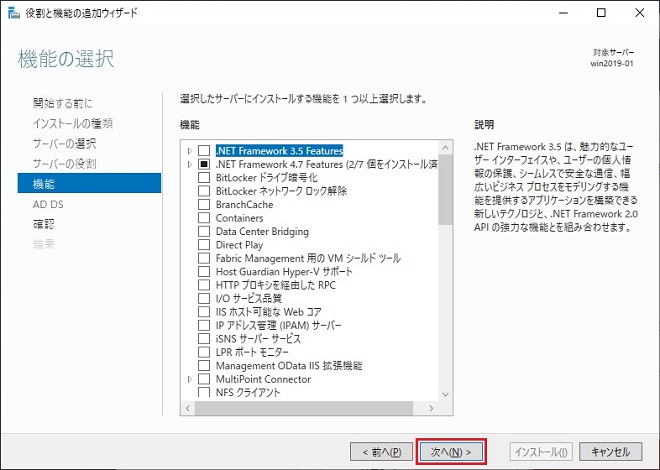
(8) [次へ]をクリックします。
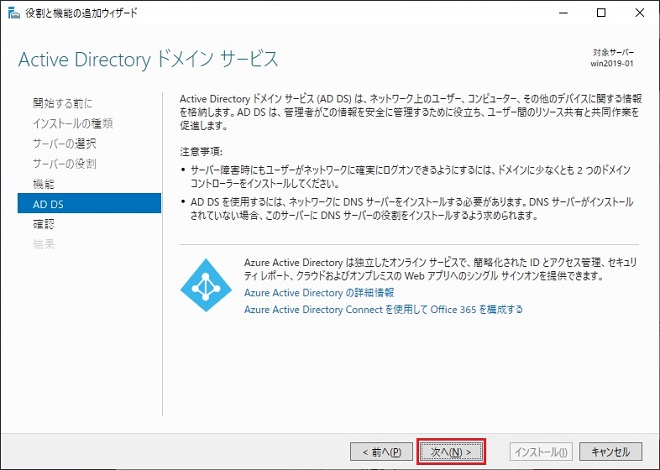
(9) [次へ]をクリックします。
(10) [インストール]をクリックします。

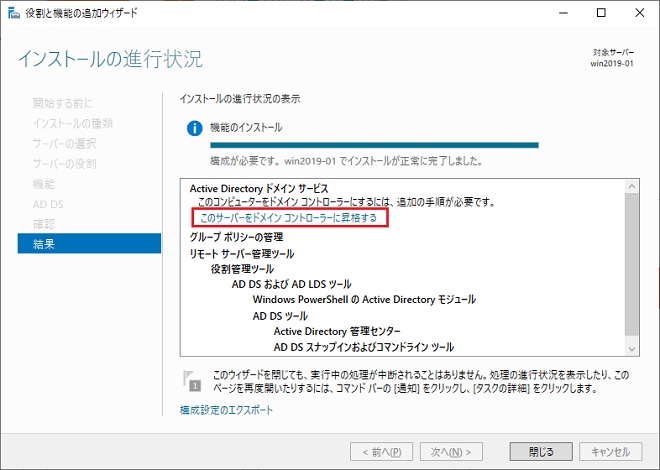
(11) 機能のインストール完了後、[このサーバードメインコントローラーに昇格する]をクリックします。
ドメインコントローラー設定
(1) [新しいフォレストを追加する]を選択し、[ルートドメイン名]を入力後に[次へ]をクリックします。
※ルートドメイン名は、本ブログで取得している「right8se.blog」のサブドメイン「ad.right8se.blog」とします。

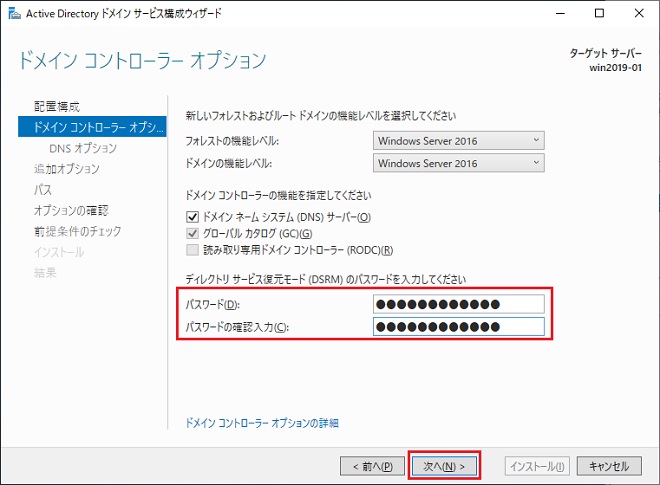
(2) DSRMのパスワードを入力して、[次へ]をクリックします。
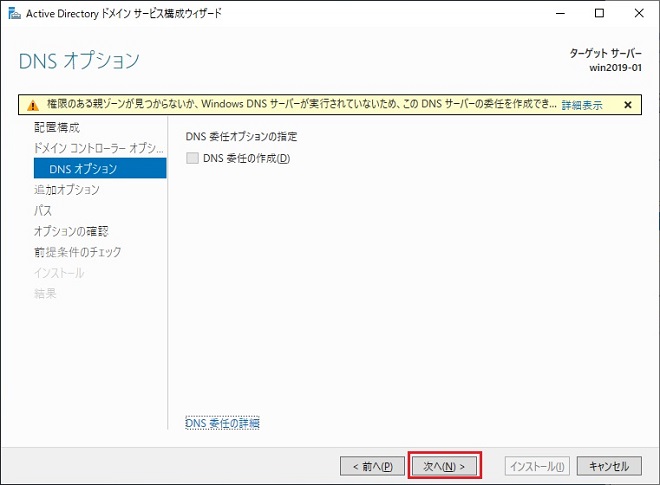
(3) [次へ]をクリックします。
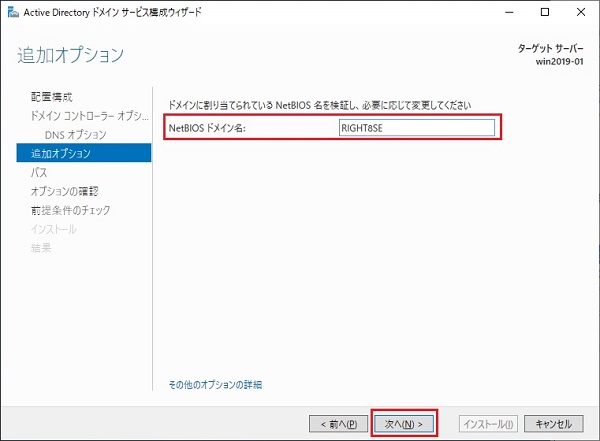
(4) [NetBIOSドメイン名]を入力して、[次へ]をクリックします。
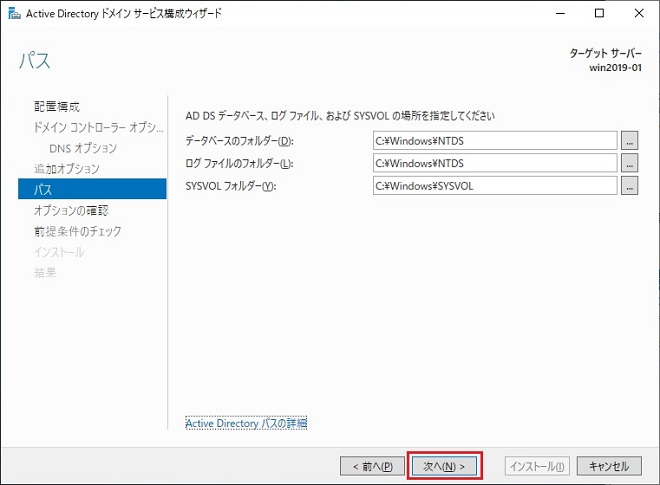
(5) デフォルト設定のまま、[次へ]をクリックします。
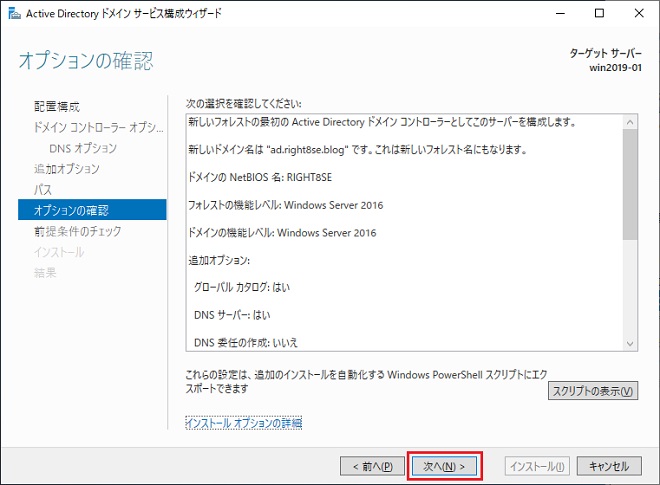
(6) [次へ]をクリックします。
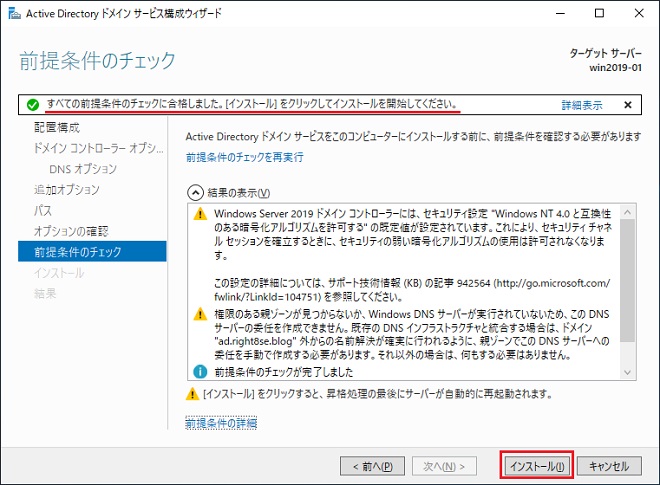
(7) 前提条件のチェックに合格したことを確認して、[インストール]をクリックします。
(8) インストールが完了するとOSの再起動メッセージが表示されて、OSが自動的に再起動されます。Active Directoryのインストールは以上となります。

あとがき
次回は、作成したActive Directory環境にOUやユーザーを作成していきます。またその後は、LinuxサーバへのKerberos認証等も行います。

コメント